
Even-though I’ve been a Web-Designer and Web-Developer for a couple of years, starting out new projects has always been challenging. Which technology stack should I use, which requirements should I tackle first and how the heck should I finish this interface?
This. Happens. Every. Single. Time.
So I started learning from data. As misleading data driven design can be, it gives one a heck of a fast start. That’s why I analyse my personal pages as well – I want to make them better by improving gradually. But which tool should I use? On first sight services such as Google Analytics seem like a great deal: easy to implement, easy to use as well as extensive – and above all „free„. But it does come at a heavy price – your users privacy.
Open source to the rescue!
Piwik is an open source analytics platform you can host yourself. You have full ownership & control over the collected data; so no snooping around from corporations at least. For this tutorial I chose DigitalOcean as the host – a cloud infrastructure provider where I have most of my virtual machines.
Step 1: Starting a droplet

Choosing the right droplet for this project almost couldn’t be simpler: the host operating system of this machine is going to be Ubuntu 16.04, with the smallest size available. 512mb of RAM might not be enough for a lot of sites, but as this is only a test it’s plenty. I also like to have things around Europe – so I chose Frankfurt, Germany as the datacenter region. Don’t overlook that „One-click apps“ tab on top – there’s a lot of open source awesomeness in there! In order to save us some server setup hassle, I went for the „LAMP 16.04“ image provided by DigitalOcean. It comes with a properly set up firewall and some security best-practices per default – kudos to that DigitalOcean! Hitting the „create“ button will do everything we need.
Step 2: Server Setup
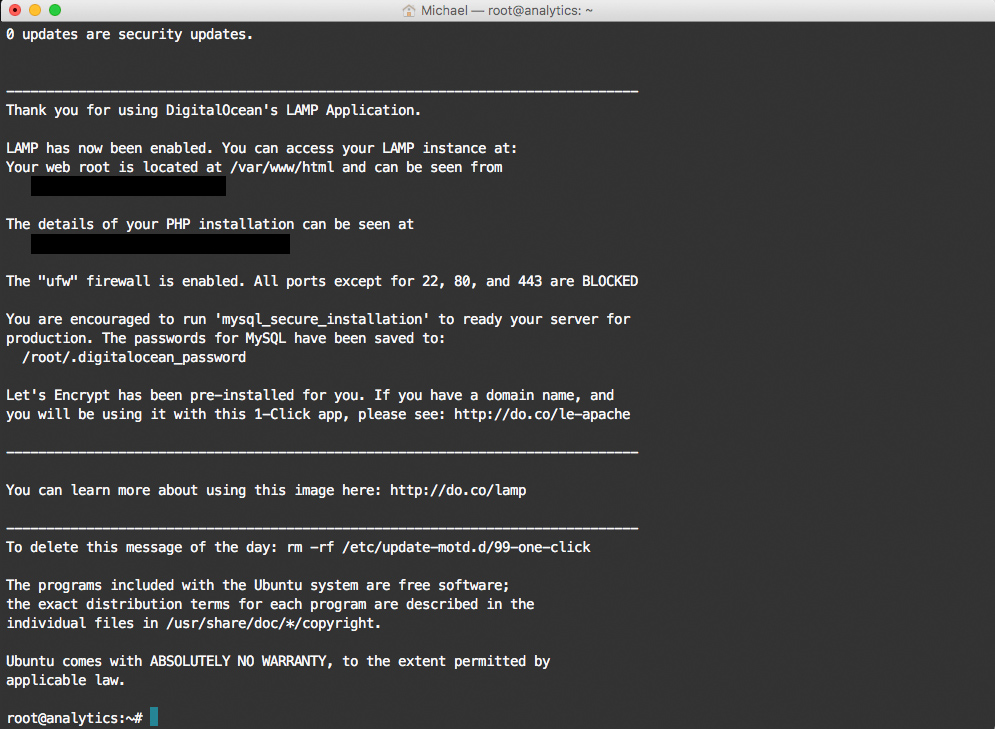
So the droplet is up and running – let’s give it a purpose. First you’ll want to log into the machine. Being a terminal kind of guy I’ll do just that – but you can use PuTTY or anything else as well if you want to.
ssh root@YOUR_IP_ADDRESS
If you have set up your droplet without a SSH key, then you have an email with the login credentials in your inbox. But be aware: using SSH keys to login on servers is way more convenient and secure. DigitalOcean has a nice tutorial to do that. After login you’ll be greeted with a lot of info:
The first thing to do is to update the system:
apt update
and
apt upgrade
will do the trick. But only keeping the system up to date will not help you being reasonably secure – follow this tutorial to secure your droplet right from the beginning. Especially changing to a non-root user is a smart move.
You’re doing great so far 🙂
Step 3: Setting up Let’s Encrypt certificates
I did a lot of complaining in my last post, that shöpping.at – the new online market for Austrian goods – hasn’t set up SSL certificates properly (they have now). So here’s a quick one how to do so. Because Digital Ocean droplets with LAMP come with everything needed pre-installed, it’s as simple as:
sudo letsencrypt --apache -d yourdomain.org
To renew your certificate you simply do:
sudo letsencrypt renew
To set up auto-renewal you can follow this tutorial.
Step 4: Setting up PIWIK
In order to install PIWIK on our Ubuntu 16.04 droplet, we have to change to the www folder:
cd /var/www
There we download the latest PIWIK build and unzip afterwards:
wget https://builds.piwik.org/latest.zip
unzip latest.zip
Then we transfer all files from the PIWIK folder to the html folder and setup the rights properly:
mv piwik/. html/
chown -R www-data:www-data /var/www/html
If you hit the IP of your server in your browser you should get this.

Well, the first battle seems to be won! So let’s configure it. Hit the next button.

And there it is – a missing PHP extension appeared! Almost as easy as catching a Pokèmon this error can be fixed:
sudo apt install php7.0-mbstring
Take that, Magikarp of PHP.
Step 4: Setting up a database
The next step leads us to the database credentials. If you read the server login message carefully, you know the password of the MySQL root-User can be found with:
nano /root/.digitalocean_password
So we have the database server (127.0.0.1), the username (root) and the password. But we lack the database name, because we haven’t set up a database so far. So let’s do just that:
mysql -u root -p
CREATE DATABASE databaseName;
We’re almost there.
Enter your data in the database form in your browser and hit the next button. After a success-message telling you your tables were created, hit next again. Then you can add a super admin user – be smart and add a safe password!
Just a little further – enter some details about the website you want to start to analyse and hit next. Then you’ll be provided with the code that needs to be included on all sites of your website. If you user a CMS such as WordPress, you can use a plugin to achieve that.
And there you go:

Now, wasn’t that easy?
As enjoyable as this his been, you’re not done yet. Learn how the thing works, secure your server properly and give hands up to the guys over at PIWIK and Let’s Encrypt for providing you with all of this for free!
Image from stocksnap.io, CC0 License.
oWarchild
30. Januar 2018 — 18:43
Thanks for this, it surely helps getting started!